For WordPress
WordPress Plugin
Better-paying ads on your WordPress site, set up in one sitting, with scam ads locked out.
Download and pair your WordPress Plugin
- Download the plugin and install it in your site's admin panel.
- Open the Advally plugin settings and choose Connect to Advally.
- Sign in with the account you used to enroll, select your site, and approve the connection to pair it.
Free to install. Ads are subject to site approval, at 20% of ad revenue when switched on, with Net 60 payment terms.
What it does
- Places ads with a block, a shortcode or automatic placement between paragraphs, with no theme edits.
- Keeps your ads.txt in sync, with nothing to edit by hand.
- Works with the common cache plugins, so pages stay fast.
- Locks out scam and redirect ads with the same protection our managed sites use.
See it work
Screenshots
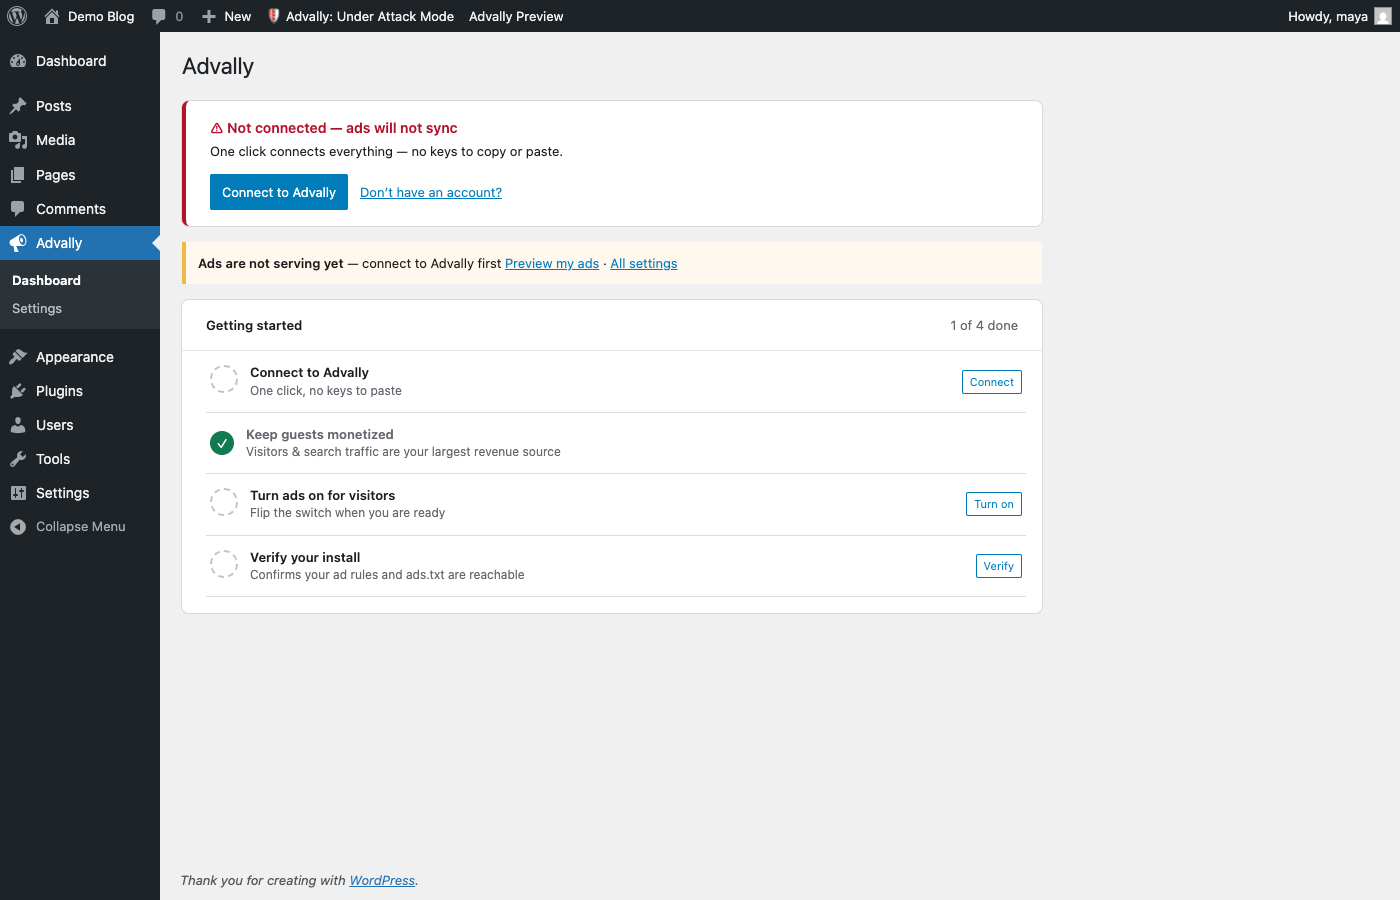
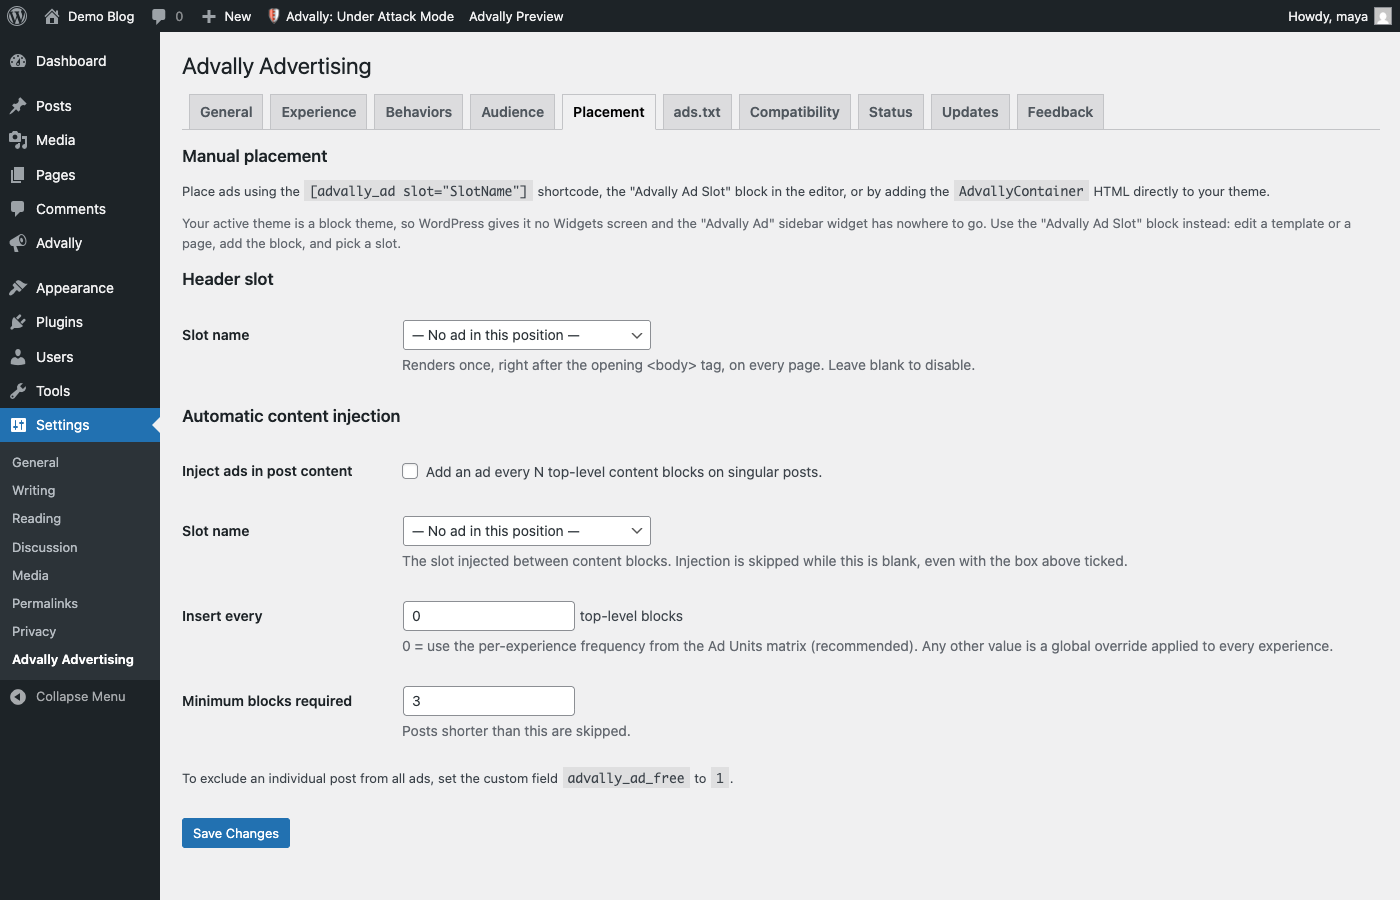
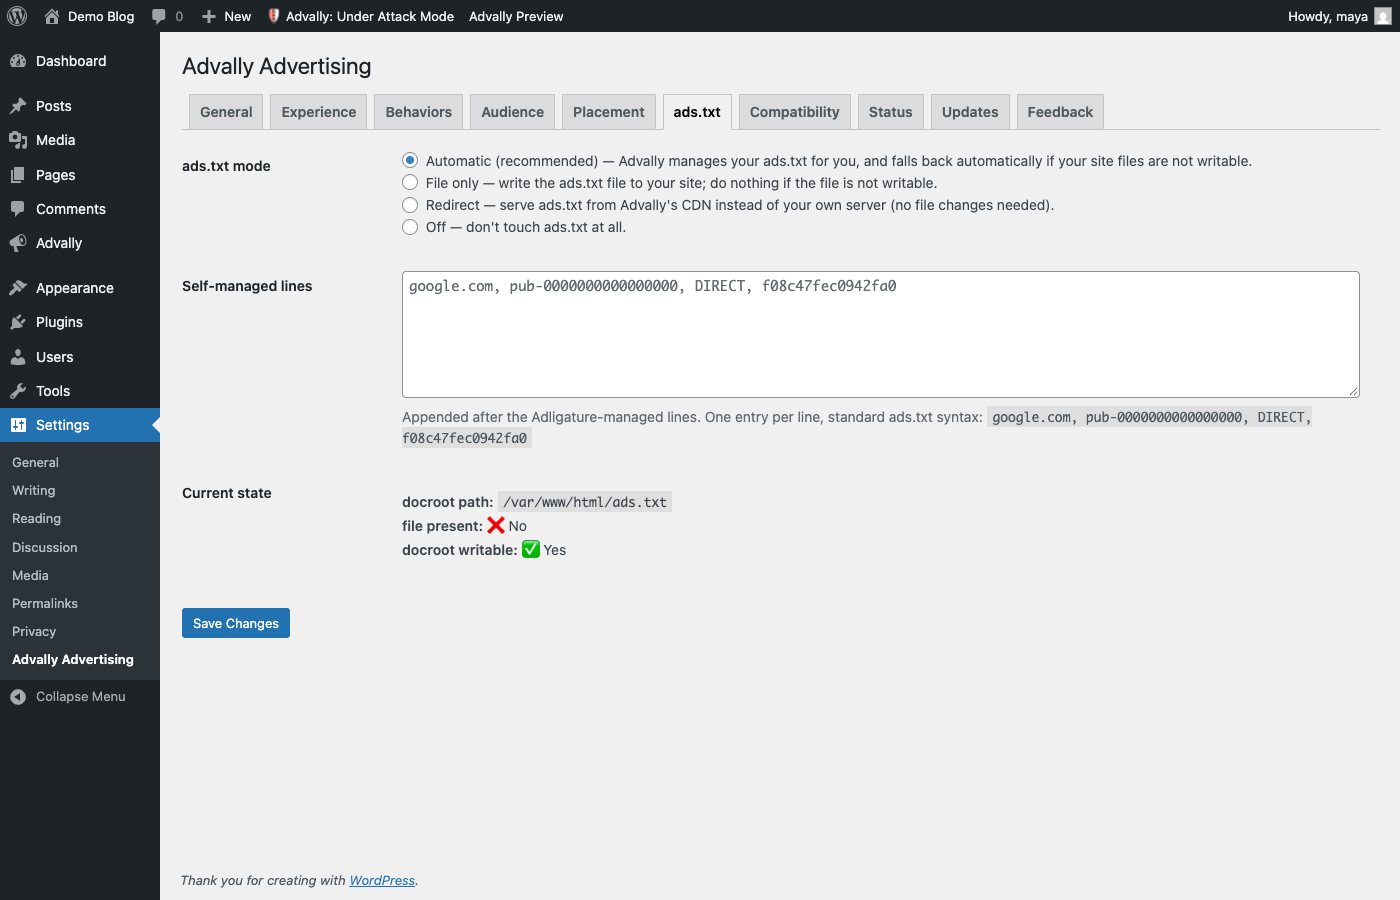
What it costs
Free to install. Ads are off until you switch them on; after that, Advally keeps 20% of the ad revenue and pays you the rest, Net 60.